Raising poultry from the egg up is one of the most rewarding experiences on the homestead. Whether you’re hatching chickens for your backyard flock or ducks for your pond, incubating your own eggs brings a special kind of magic (and a little bit of science). If you’ve been thinking about giving incubation a try, here’s everything you need to know to get started—plus a few tips I’ve learned along the way.
Why Incubate Your Own Eggs?
Incubating your own ducklings or chicks allows you to:
- Select your breeds (hello, heirloom layers or rare duck varieties!)
- Control the health and environment of your flock from day one
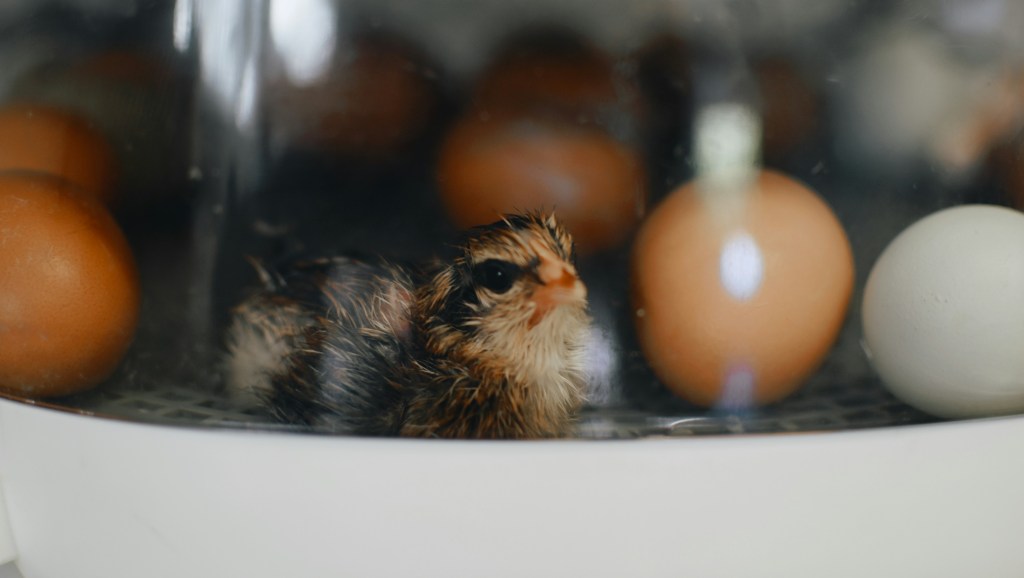
- Experience the wonder of new life hatching under your care
Plus, it’s a great learning experience for kids and adults alike—there’s nothing quite like watching that first little pip in the shell!
Getting Started: Supplies You’ll Need
- Incubator – A reliable incubator with temperature and humidity control is key. Automatic egg turners are a plus, especially if you’re incubating a large batch. Amazon and Tractor Supply have some great options at a good price!
- Fertile Eggs – Make sure your eggs are fertilized (from a rooster or drake) and as fresh as possible—ideally under 7 days old (on the counter, not fridge!).
- Thermometer & Hygrometer – Even if your incubator has a digital readout, having a backup to double-check readings is always a good idea.
- Candler – This handy light helps you monitor embryo development. Most incubators have these built in!!
Chicken vs. Duck Incubation: Key Differences
While the basic process is similar, there are a few important distinctions:
| Feature | Chickens | Ducks |
|---|---|---|
| Incubation Time | 21 days | 28 days (most breeds) |
| Humidity | 45-50% (first 18 days), 65-70% (last 3 days) | 55-60% (first 25 days), 65-75% (last 3 days) |
| Turning Eggs | 3–5 times a day until Day 18 | 3–5 times a day until Day 25 |
| Cooling/Misting | Not necessary | Recommended for duck eggs after Day 7 to mimic the natural mama duck leaving the nest |
Ducks are a bit pickier—they tend to prefer a more humid environment, and their eggs benefit from daily cooling and light misting after the first week.
Step-by-Step: How to Incubate
- Set Up the Incubator
Get it running for at least 24 hours before adding eggs. Temperature for chickens should stay at 99.5°F (forced air) or 101.5°F (still air). Ducks are the same, with slight increases in humidity. - Load the Eggs
Place eggs with the pointy end down or laying on their sides. If hand-turning, mark each side with an “X” and “O” to keep track. - Monitor Daily
Turn the eggs and check temp and humidity. Candle at Day 7 and again at Day 14 to check for development. - Lockdown
On Day 18 (chickens) or Day 25 (ducks), stop turning, increase humidity, and prepare for hatching! Avoid opening the incubator during this time. - Hatch Day
You’ll start to hear peeping and see eggs wobble. Resist the urge to help too early—hatching can take 24+ hours from pip to full emergence. Let them dry and fluff up before moving to the brooder.
Brooder Time!
Once your chicks or ducklings are ready, transfer them to a warm, dry brooder with:
- Heat lamp or brooder plate (95°F for chicks, slightly lower for ducklings)
- Clean bedding (no slippery surfaces)
- Fresh water (shallow dishes to avoid drowning—especially for ducklings)
- Chick or duck starter feed
Remember: ducklings are messier than chicks. They love splashing, so expect lots of water spills and wet bedding!
Incubating poultry takes a bit of patience, a lot of observation, and a heart full of wonder. Whether you’re hatching future egg-layers or feathered companions for your homestead, the journey from egg to fluffy chick or duckling is unforgettable.
Have you tried incubating eggs before? Drop a comment below—I’d love to hear your stories, tips, or favorite breeds!
Happy hatching,
Your fellow homesteader

Leave a comment