(Well, Almost)
Let’s talk about composting. Yep, I said it — composting. I know what you’re thinking: “That’s a lot of work. Isn’t compost just… dirt?” Well, friends, buckle up, because composting is not just dirt — it’s black gold. It’s a magical process that transforms your food scraps, lawn clippings, and general garden waste into nutrient-rich soil that can make your plants practically sing with joy.
If you’re new to composting (or have been avoiding it because you think it’s something only “serious gardeners” do), don’t worry. I’m here to help you ease into the world of composting with minimal stress and maximum satisfaction. This is one of those things that, once you get the hang of it, will make you feel like you have unlocked some sort of earth-based superpower. Plus, you’ll be helping the environment while reducing waste. Win-win!
So, grab a cup of coffee (or a glass of wine, I’m not judging) and let’s dive into the basics of composting for beginners. We’ll make it easy, fun, and a little bit… stinky (but in a good way).
Why Compost? (Spoiler: It’s More Than Just Rotted Veggies)
Before we start dumping banana peels and coffee grounds into a pile, let’s talk about why composting is a game changer. Composting is like giving Mother Nature a hug. Seriously.
- Reduces Waste: The average person sends a ton of kitchen scraps to the landfill every year. Think of all that fruit and veggie waste just sitting there, turning into methane (yikes!). Composting keeps those scraps out of landfills and turns them into something useful.
- Enriches Your Soil: By adding compost to your garden, you’re giving your plants a rich, nutrient-packed treat. It improves soil texture, helps with water retention, and encourages healthy root growth. Your plants will thank you.
- It’s Easy (Mostly): Once you get the hang of it, composting is pretty low-maintenance. Think of it as a hobby that involves a little bit of work and a lot of rewards. And let’s be honest: making dirt out of your leftovers feels kind of magical.
Step 1: Choose Your Composting Method
There’s more than one way to compost, so pick the method that works best for your space, time, and personal level of ambition. You can go as fancy or as simple as you want.
1. The Traditional Pile (aka “The Backyard Pile of Awesomeness”)
This is the composting method where you just start a big ol’ pile in your backyard and let it do its thing. It’s the easiest method and perfect for larger yards or anyone who doesn’t mind the occasional “is-that-a-rat-or-a-raccoon?” moment.
- Pros: Free, low-maintenance, and no special equipment required.
- Cons: Can take a while to break down, can attract critters (unless you keep it tidy), and it’s not the most attractive thing to look at. But hey, it’s dirt!
2. Compost Bin (aka “The Stylish, Contained Option”)
If you’re more of a “neat and tidy” type, a compost bin might be for you. These are available at most garden stores, or you can DIY one yourself (Pinterest, anyone?). Compost bins help contain the mess, control odors, and keep critters at bay. Plus, they look a little more intentional than a random pile of organic material in the middle of your yard.
- Pros: Keeps things contained, faster decomposition, less mess.
- Cons: Can cost a little money upfront, but it’s totally worth it.
3. Compost Tumbler (aka “The Rotating System for the Overachiever”)
For those who want to get a little fancy with their composting, a tumbler is the way to go. This is basically a barrel on a stand that you rotate to mix the compost. Tumblers heat up faster than regular piles, so compost breaks down quicker. If you’re impatient (like me), this is your new best friend.
- Pros: Faster composting, keeps things neat, can be turned easily.
- Cons: Can be pricier than bins, and you have to actually rotate it (we all know how fun that is).
Step 2: What to Compost (And What to Avoid)
Okay, now we’re getting to the good stuff. What can you actually toss into your compost pile? Let’s break it down:
1. Green Materials (aka the Nitrogen-Rich Good Stuff)
These are the things that give your compost pile a little kick in the nutrients department. Green materials are rich in nitrogen and are essential for the composting process.
- Kitchen scraps: Fruit and veggie peels, cores, and seeds. (Pro tip: save your coffee grounds — your compost pile will love them!)
- Grass clippings: Only if they’re not too chemically treated. Your lawnmower probably doesn’t care about the pesticides, but your compost will.
- Eggshells: These are technically “brown” but are small enough to fall into the green category. Plus, they help with calcium, which plants love.
- Green leaves: Fresh, soft leaves from plants or shrubs.
2. Brown Materials (aka the Carbon-Rich Magic Ingredients)
Think of these as the “fluff” that helps your compost pile breathe. Brown materials are rich in carbon and are essential for helping to balance the pile’s composition.
- Dry leaves: A fall favorite, these are a composting must-have.
- Straw or hay: Not to be confused with grass clippings. Straw and hay are great for your pile.
- Shredded newspaper: Believe it or not, newspaper is a great addition. Just make sure it’s black-and-white print, not colored.
- Wood chips/sawdust: If you happen to have a wood shop, this stuff is perfect for your compost.
3. Avoid These (Trust Me on This One)
There are a few things that should never go in your compost pile, and adding them could lead to disaster (okay, more like “smelly disappointment”).
- Meat, dairy, and fats: These break down slowly, and let’s just say the smell could make your neighbors give you “that look.”
- Weeds with seeds: You do not want to be composting things that will come back to haunt you (like that one salad you ate last summer).
- Pet waste: While it’s a little tempting to toss in, pet waste (especially from carnivores) can carry diseases that could end up in your soil. Nope, nope, nope.
- Diseased plants: If a plant’s got a problem, don’t let it spread.
Step 3: Maintain Your Compost Pile (Because Compost Needs Love Too)
You can’t just throw some scraps into a pile and walk away forever. Composting needs a little TLC to do its thing properly.
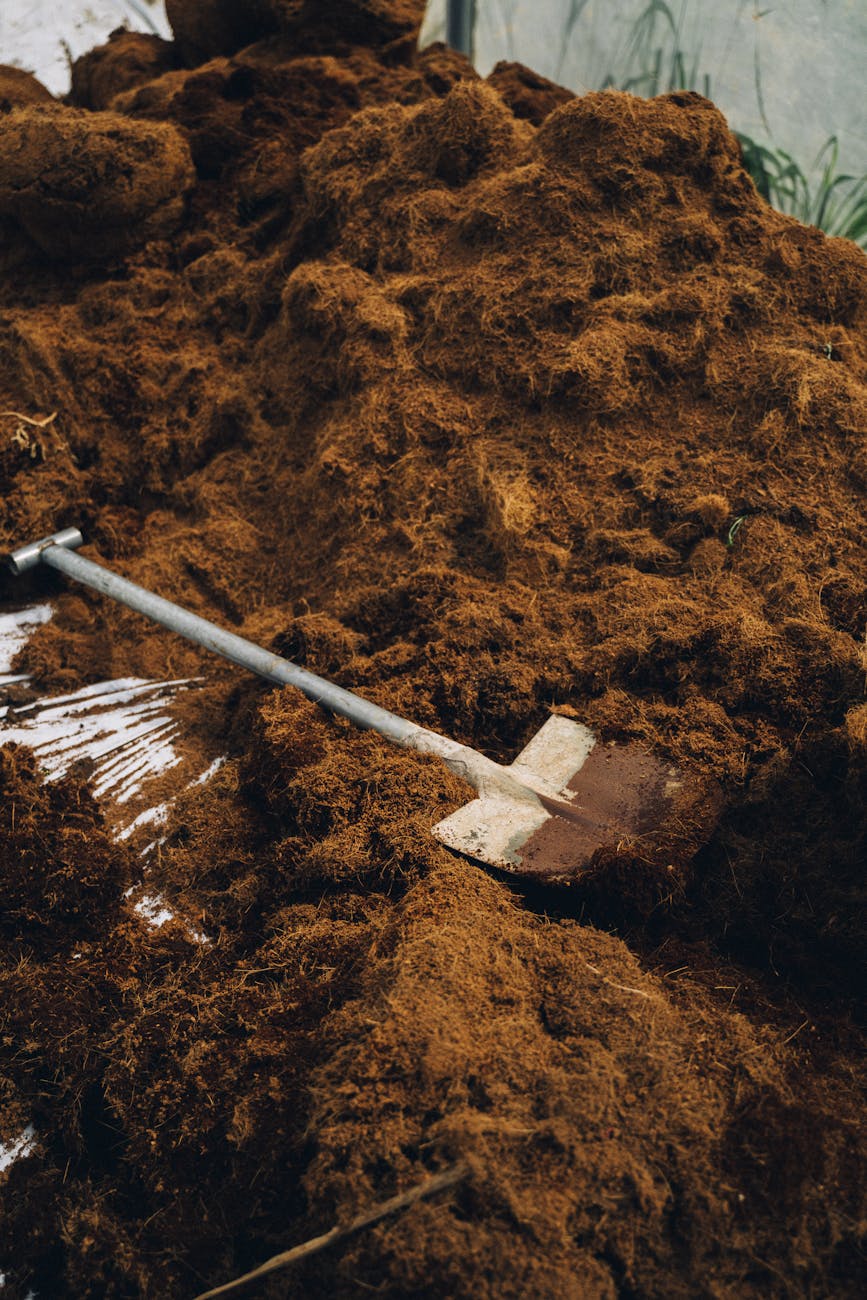
- Turn It: Yes, you have to turn your pile. Don’t worry, it’s not as difficult as it sounds. You can use a shovel, pitchfork, or compost aerator to turn your pile every few weeks. This helps aerate the compost and speeds up the decomposition process. If you’re using a tumbler, you’re golden. Just rotate away.
- Keep It Moist: Compost likes to be moist but not soggy. Think of it like the sponge test: if you squeeze it and water comes out, it’s too wet. If it’s crumbly and dry, add some water or fresh green materials to balance it out.
- Be Patient (But Not Too Patient): Composting isn’t a race, but it’s also not forever. It can take anywhere from 2-6 months for your compost to break down into that sweet, earthy goodness, depending on your pile’s size, how often you turn it, and what materials you’re using. When your compost is dark, crumbly, and smells like rich, fresh earth, you know you’ve made it.
Step 4: Using Your Finished Compost (This is the Best Part)
You did it! You’ve created your own black gold! Now what?
- In the Garden: Spread your compost on top of your garden beds to improve the soil. It’s like giving your plants a spa day.
- In Potted Plants: Mix some compost with your potting soil to give your indoor plants a nutrient boost.
- Lawn Care: If you’ve got a lawn, sprinkle a thin layer of compost over it to help it thrive.
And there you have it! You’re officially a composter. Give yourself a high five — you’ve just made the world a little greener, and your garden will thank you. And remember: composting is a journey. Don’t stress about perfection, and embrace the (sometimes smelly) process. You’re turning waste into something beautiful, and that’s a superpower in its own right.
Happy composting, my fellow dirt magician! 🌱
